
Instructions
Multiple Offset, Precision Scribe Tool
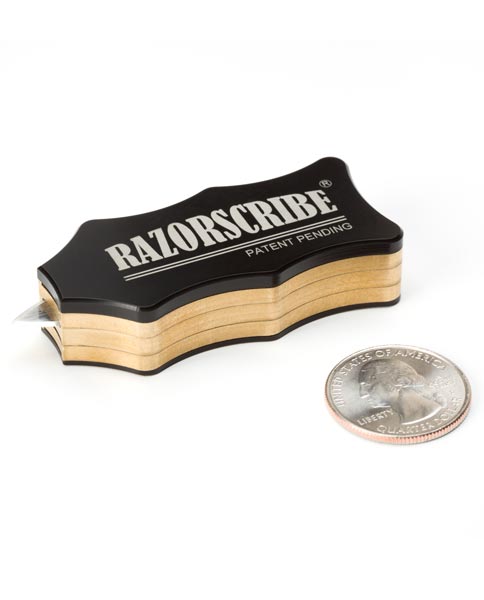
- 8 offsets in 1/16’ increments from 1/16” to ½”. (see figure 1)
- Offsets are securely locked in place for guaranteed accuracy.
- Blade easily changed to required offset.
- Cuts a distinct line ensuring accurate removal of material.
- Minimizes chipping and ensures a tight fit.
- Magnets holds blade securely in safety and cutting positions.
- Doubles as a stud finder.
- Sturdy, ergonomic design stows safely and easily when blade tip points inward.
Step 1-Select Offset
To set to desired offset, either place blade in predetermined slot or measure the widest gap from surface to be scribed
Step 2-Cut Scribe
While applying downward pressure to the tool, lightly pull the blade against material (e.g. baseboard), making the preliminary cutting mark. Continue to go over the initial scribe until you have a deep score line. The deeper the scribe, the easier it is to remove excess material. While scribing, watch and feel that the tool remains firmly in place. It can ride up a grain if you are not careful or try to cut too deeply too quickly.
Step 3-Return to Safety Position
Carefully remove the blade from the tool and return to slot with the sharp side pointing inwards (safety position).
Step 4-Material Removal
Tip: Apply sawdust or talcum powder into the scribe line to make it easier to see prior to material removal.
We recommend setting a table saw at a 30° bevel (angle) and, from the back, free ripping 1/16” away from the scribed line. Material can also be removed by back beveling with a planer, a grinder, belt sander or a block plane. You can also back bevel first then cut the scribe to meet the back bevel.
Generally, the material will easily fall away, leaving a precise, sturdy edge that requires no additional adjustments. When needed, use an angle grinder on the backside for touch up.